So, you are looking for a simple newsletter signup solution for your website? The Hubspot API is free, fast, and easy to implement.
Background
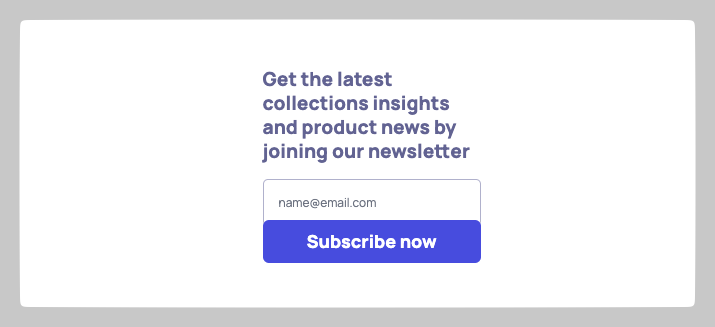
I was tasked with creating a new newsletter signup form that integrates seamlessly with Hubspot using their API. The Hubspot API offers a free, fast, and straightforward solution, making it easy to implement an efficient and user-friendly signup process on your website. This integration will streamline our email marketing efforts, ensuring that we can quickly and effectively reach our audience with the latest updates and promotions.
Implementation
Hubspot Account
Open hubspot.com and create an account.
Create a Form
The form will specify what the API can receive, such as emails.
- In the navigation under Marketing, select Forms.
- Click Create form.
- Choose Embedded form.
- Use the blank template to collect emails and optional metadata like date and time. Click Start.
- Click Update and Publish. An overlay will appear.
- In the overlay, click Embed code and copy it.
The embed code should look something like this:
<script charset="utf-8" type="text/javascript" src="//js-eu1.hsforms.net/forms/embed/v2.js"></script>

<script>
    hbspt.forms.create({
      region: "eu1",
      portalId: "your_portal_id",
      formId: "your_form_id"
    });
</script>
We will use the portalId and formId attributes for our frontend.
Code
A minimal HTML template with header, input and submit button.
<h1>Newsletter signup</h1>
<input placeholder="Email" type="email" name="Email" id="email">
<button type="button" onclick="submit()">Submit</button>
async function submit() {
const base_url = "https://api.hsforms.com/submissions/v3/integration/submit";
const portal_id = "your_portal_id";
const form_id = "your_form_id";
const request_url = `${base_url}/${portal_id}/${form_id}`;
const email = document.getElementById("email").value;
const body = {
submittedAt: Date.now(),
fields: [
{
objectTypeId: "0-1",
name: "email",
value: email
}
]
};
try {
const response = await fetch(request_url, {
method: 'POST',
mode: 'cors',
headers: {
'Accept': 'application/json',
'Content-Type': 'application/json'
},
body: JSON.stringify(body)
});
if (response.ok) {
alert("Success!");
} else {
alert("Submission failed.");
}
} catch (error) {
console.error('Error:', error);
alert("An error occurred.");
}
}Replace portal_id and form_id from the generated Hubspot snippet.
Conclusion
Integrating a custom newsletter signup form with the Hubspot API can greatly enhance your email marketing efforts by providing a seamless and efficient way to collect subscriber information. By following the steps outlined in this guide, you can easily set up a form, capture user emails, and handle submissions directly from your website. The Hubspot API is a powerful tool that offers a straightforward and fast solution, ensuring that your marketing team can quickly reach your audience with the latest updates and promotions. I hope this guide has made the process easier for you, and that your new signup form helps you grow your subscriber list effectively. Happy coding! 🙏